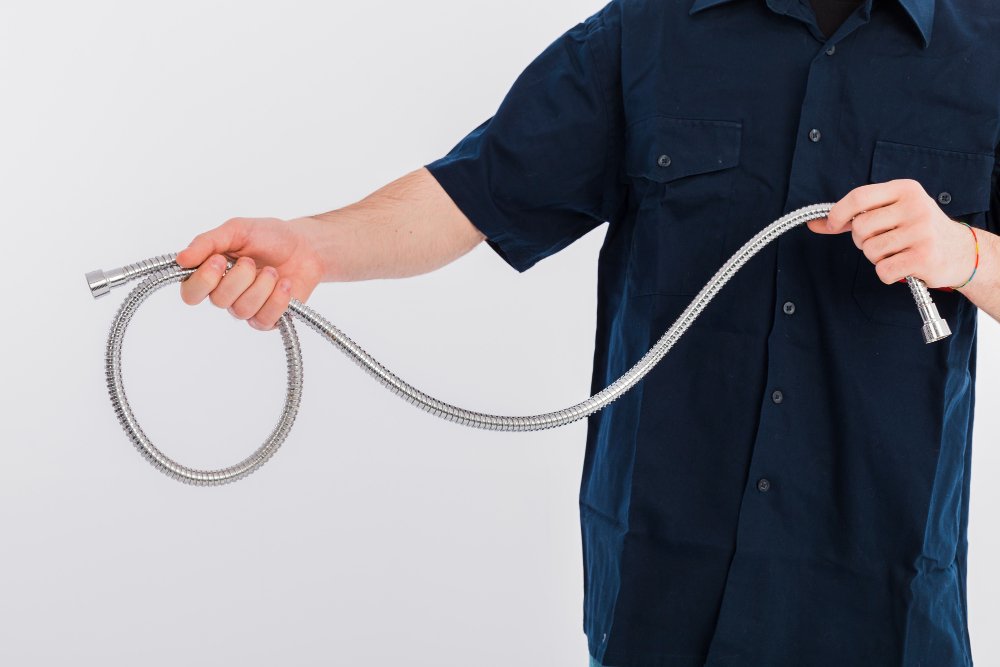
Stainless steel hoses are the foundation in many industrial and hydraulic applications, providing durability, flexibility, and resistance to high pressure and temperature. Whether you are installing such hoses within a hydraulic system, manufacturing plant, or chemical processing facility, it is necessary to ensure these hoses are installed correctly to avoid leaks and ensure safety and longevity.
Installations of such can lead to hose failure, higher maintenance costs, and even the danger of accidents. To help you not face such frustrations, this guide takes you through the whole procedure of how Stainless steel hoses are installed from the preparation process to the final testing.
Step 1: Assemble the Required Equipment and Tools
The first process to undertake when installing a Stainless steel hose is to ensure that all the necessary tools and components are available. Before commencing, ensure that you have the appropriate length of stainless hose, proper fittings, clamps, wrenches, and any requirement for seal materials like Teflon tape.
Also, ensure all parts to be connected, such as the hose, and fittings, among others, are compatible among themselves and the system specifications. There are also Stainless steel hoses that vary in ratings according to pressure, and proper care is needed for the selection of their matching pressure rating with the system’s working pressure.
This would ensure the prevention of blowouts or leakage when the hose is used during operations and is rated for a pressure level lesser than required.
Spend a little time reading through the manufacturer’s instructions for your hose and fittings to ensure that you end up with something that will fit together correctly. Inattentiveness to this could leave the fittings fitted but not sealing and under pressure; leaks are just a possibility. It is also wise to make sure all your tools are clean of dirt or debris that might contaminate the system or perhaps damage the hose material when fitted.
Facts about Stainless Steel Hose
The Stainless Steel Flexible Hose Market was valued at USD 25.0 billion in 2023 and is projected to grow to USD 46.2 billion by 2033, representing a compound annual growth rate (CAGR) of 6.5% during the forecast period from 2024 to 2033.
Also Read: The Essential Guide to Hydraulic Hose Fittings and Components
Step 2: Inspection of the Hose and Fittings
Before starting the installation, inspect both the stainless steel hose and its fittings. Stainless steel hoses are strong and resist wear but can be easily damaged in storage or transport.
Look for any visible signs of wear – dents, kinks, or corrosion- in the hose. Even a slight kink in the hose may lead to early failure, particularly if exposed to high pressure. The other important thing is the inspection of fittings for any damage. Worn-out threads or bent ends of the fitting could seriously pose a problem in the form of leakages due to an improper seal.
This inspection is highly essential especially if the hose is to be used under high-temperature conditions, chemicals, or abrasive materials. In this inspection, you must have detected any damage.
You should not attach the hose, or any of its fittings once you notice minor damage as the potential problem will become significant when the system starts operating. You should replace it before making any fitting installations.
Step 3: Measurement and Cutting of the Hose
It is important to get the length of the hose right so that it doesn’t strain. When measuring the hose, take into consideration the flexibility or movement it needs to exhibit in the system. Stainless steel hoses are often used in systems that experience vibrations or temperature shifts; hence, there is some extra allowance to accommodate the hose’s expansion and contraction without excessive stress.
Measure the hose length, then cut the hose at the designated length on the area using a special stainless steel hose cutter.
Avoid using tools that can fray the hose because a rough or uneven cut will not seal the fitting properly. After cutting, inspect both ends to ensure that they are clean and smooth. Another thing that should not be taken lightly is that the hose should not be cut too short. When you stretch the hose during installation, the strength of this hose may be compromised, hence the chance for leaks or ruptures to occur.
Recommended reading: The Benefits of Using Stainless Steel Bellows in Marine Systems
Step 4: Install Fittings on Hose
Installation will also include attaching the fittings to the hose. Fittings provide a secure and leakage-free connection between the hose and the rest of the system.
To achieve an effective installation, the fitting must be carefully pushed into the end of the hose. It is essential that the fitting slides into the hose freely and is properly aligned. If it is not aligned properly, it might collapse under pressure due to a weak connection.
Clamp or ferrule it when the fitting is on; it will depend on which assembly you use. What you want to do is ensure that clamps or ferrules are tightened enough to hold them without over-tightening.
But rather so tightly that they can deform the hose or overly tighten it. Over-tightening in the hose or ferrules can damage the threads of the hose or affect the hose’s material integrity. Damage might be visible in damaged threads or structural integrity of the hose over time, using a stainless steel hose.
If you are using threaded fittings, it is advisable to put Teflon tape on the fitting before fastening. Failure to tape the metal threads may make their seal difficult, thereby posing a risk of leaking, mostly for high-pressure systems.
Ensure everything is tightened by double-checking one more time after fixing the fitting, but avoid this much since it might bring complications later.
Step 5: Install hose correctly with experts tips
Proper positioning of the hose is next in importance to tightening the fittings. An installation of a stainless steel hose requires proper positioning that minimizes sharp bends, twists, or excessive tension.
Stainless steel hoses are flexible. Overbending the hoses can cause kinks which reduce its efficiency in performing the function. In the worst case, the hose can rupture due to pressure or wear down prematurely.
The hose should have a natural curve without being too stiff but not with sharp turns. In placing the hose, it must be kept away from sharp edges and surfaces which may cause abrasion to the stainless steel as time goes by.
Be particularly sensitive to temperature extremes as well. Although stainless steel hoses are heat-resistant, they must be far from intense hot sources, and if installed near such areas, proper insulation is needed in order not to impact their performance and shelf life adversely.
Step 6: Test the Installation
Finally, test the installation by making sure all connections of the hose are tight and placed correctly. Gradually pressurize the system and pay close attention to the hose and the fittings themselves for indications of leakage or weakness.
Testing the system slowly, in general, especially during initial pressure build-up, is necessary in that all problems are identified before the system is at full pressure.
Allow the system to operate at its normal pressure for several minutes while continuing to test; inspect the connections and fittings for signs of stress, including unusual noises, movement, or leaks.
If any trouble develops during these tests, allow the pressure off and re-check the fittings, clamps, and hose positioning. Always ensure the hose pressure rating is high to avoid dangerous blowouts when meeting or exceeding the pressures in the system.
Proper installation of stainless-steel hoses ensures safe, efficient performance of industrial systems.
The steps involved are following the letter gathering of the right tools, inspection of the hose and fittings, precise measurements, and cutting of the hose. fitting assemblies should be done correctly, mounting the hose, and finally, testing very carefully.
To avoid common pitfalls such as leaks, premature hose failure, or even unsafe conditions, Stainless steel hoses should be installed correctly. You will avoid repairs and you will have less downtime, and your system will prove itself to be more reliable in the long run.
For high-quality stainless steel hose, expert advice, and professional services, get in touch with Inflex Hydraulics. having a few decades of experience in hydraulic and industrial hoses. Contact us today at info@inflexhydraulics.com


Comments are closed